

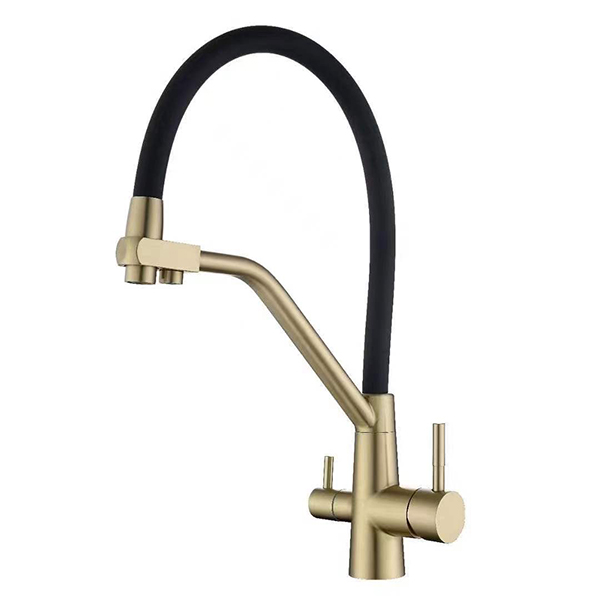
A pull-out kitchen faucet is a marvel of modern convenience, offering flexibility and functionality. However, its spray head is constantly exposed to water, minerals, and food debris, making it susceptible to clogs and reduced performance. Regular cleaning is essential to maintain optimal water pressure and extend the lifespan of your faucet. As a supplier of high-quality pull-out kitchen faucets, we provide this professional, step-by-step guide to help you clean your spray head effectively and safely.
Why Cleaning is Crucial
Over time, mineral deposits from hard water (primarily calcium and lime) can build up inside the spray head's small apertures and internal mechanisms. This buildup can lead to:
Low or Uneven Water Pressure: Clogged holes restrict water flow.
Erratic Spray Patterns: Water may spray in unintended directions.
Difficulty Switching Spray Functions: The mechanism that changes between stream and spray can become jammed.
Potential for Internal Damage: Significant buildup can strain internal seals and components.
Regular cleaning prevents these issues, ensuring your faucet performs like new for years to come.
Step-by-Step Cleaning Guide
Important Safety Note: Always refer to your faucet’s manufacturer manual for specific disassembly instructions, as models can vary. The following is a general guide for most pull-out faucets.
What You’ll Need:
White vinegar
A small bowl or plastic bag
Soft toothbrush or small brush
A thin, soft object like a toothpick or a pin
Soft cloths
Optional: Mild dish soap
Method 1: The Vinegar Soak (For Regular Maintenance & Minor Clogs)
This is the most effective and non-invasive method for dissolving mineral deposits.
Secure the Faucet: Gently pull out the spray head and ensure the hose has enough slack. Place a towel in the sink to prevent damage if you drop the spray head.
Locate the Weight: On the hose of most pull-out faucets, you will find a counterweight. Slide it up and out of the way so it doesn’t prevent you from laying the spray head in the sink.
Remove the Spray Head (if applicable): Many spray heads can be detached from the hose by unscrewing the connecting nut. Some models have a quick-release button. If your model does not easily detach, you can proceed without removing it entirely.
Prepare the Vinegar Bath: Fill a small bowl or a plastic bag with white vinegar. Vinegar is a mild acid that is excellent at dissolving calcium and lime scale.
Submerge the Spray Head: Place the spray head face-down in the bowl of vinegar. If using a bag, submerge the spray head and use a rubber band to secure the bag to the hose, ensuring the nozzles are fully immersed. Avoid getting vinegar on the faucet's finished surfaces for prolonged periods, as it can potentially dull the shine on some finishes.
Soak: Let it soak for at least 30-60 minutes. For heavy buildup, you can leave it for several hours or overnight.
Scrub and Rinse: After soaking, remove the spray head. Use the soft toothbrush to gently scrub the surface and dislodge any remaining debris. Carefully use a toothpick to clear any stubbornly clogged holes—do not use metal objects like pins or needles, as they can scratch and damage the water outlets. Rinse the spray head thoroughly with clean water.
Reattach and Test: Reconnect the spray head to the hose if you removed it, and slide the counterweight back into place. Turn on the water and run it for a minute to flush out any remaining vinegar or loosened particles.
Method 2: For Stubborn Buildup Without Disassembly
If the spray head cannot be detached or the clog persists after soaking:
Create a Vinegar Paste: Make a thick paste using baking soda and white vinegar.
Apply the Paste: Apply the paste directly to the face of the spray head, covering all the holes.
Soak a Cloth: Soak a small cloth in vinegar and wrap it around the paste-covered spray head.
Wait: Let it sit for one hour.
Scrub and Rinse: Remove the cloth, scrub gently with a toothbrush, and rinse thoroughly.
Maintenance Tips to Prevent Future Clogs
Regular Wiping: After each use, wipe down the spray head with a soft, dry cloth to remove water droplets and prevent mineral spot buildup.
Monthly Rinse: Once a month, detach the spray head and rinse it under high pressure to flush out small debris before it becomes a clog.
Consider a Water Softener: If you live in an area with extremely hard water, a whole-house water softener is the most effective long-term solution to prevent scale buildup throughout your plumbing system.
When to Seek Professional Help
If you have followed these steps and your faucet still has low pressure or malfunctioning parts, the issue may be deeper within the faucet's cartridge or the water supply lines. In this case, it is best to consult a professional plumber or contact us for assistance.
By following this simple cleaning routine every few months, you can protect your faucet, ensure consistent performance, and keep your kitchen’s workflow running smoothly. A well-maintained pull-out faucet is a reliable and durable tool for any modern kitchen.
 Mobile Phone:
 Contact Now