

A kitchen sink faucet is one of the most frequently used fixtures in any home. It delivers water for washing, cooking, and cleaning, while also serving as a key visual feature in the kitchen design. Modern faucets come in many types—single-handle, double-handle, pull-out, or pull-down models—but the installation principles are similar. Installing a kitchen sink faucet correctly ensures not only smooth operation but also prevents leaks, corrosion, and long-term maintenance issues. Below is a detailed guide explaining what a faucet is, how to install it step by step, the precautions to keep in mind, and a summary for long-term performance.
A kitchen sink faucet is a plumbing fixture that controls the flow and temperature of water coming from the supply lines to the sink. It is typically mounted on the sink deck or countertop and connected underneath through two flexible hoses—one for hot water and one for cold.
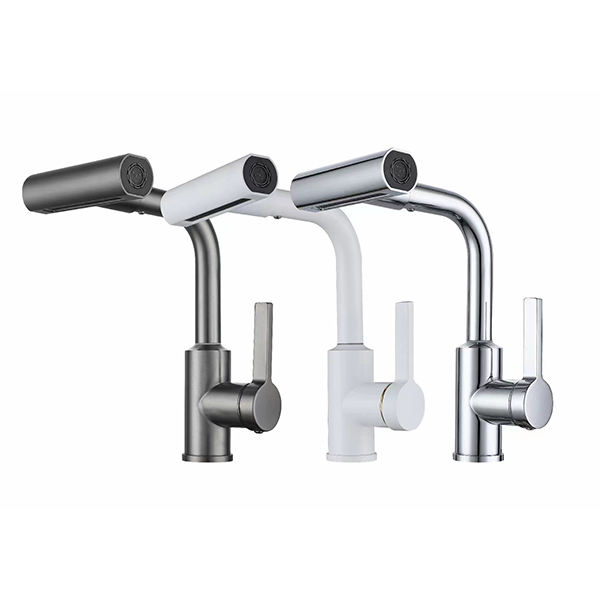
Faucets are made from brass, stainless steel, or zinc alloy, often finished with chrome, brushed nickel, or matte coatings for durability and style. Inside the faucet body, a valve cartridge regulates water flow and temperature when you move the handle. Pull-out and pull-down faucets also include a spray hose and counterweight that allow flexible movement for cleaning dishes or filling pots.
A well-installed faucet not only enhances kitchen efficiency but also improves hygiene by minimizing splashing and ensuring stable water pressure. Therefore, understanding the structure—base, spout, handle, hoses, and mounting hardware—is essential before installation.
Installing a kitchen faucet is straightforward if done with precision. The process includes removing the old faucet, preparing the area, mounting the new faucet, connecting the supply lines, and testing for leaks. Here’s the complete breakdown:
Before starting, turn off both hot and cold water valves under the sink. Open the existing faucet to release residual pressure.
Tools Required: Adjustable wrench, basin wrench, plumber’s tape, bucket, towel, and flashlight.
Clean the Surface: Remove old debris, rust, or sealant from the sink holes.
Check Faucet Compatibility: Ensure your new faucet matches the number of holes in your sink (single-hole or three-hole setup). Most modern faucets include an optional deck plate to cover unused holes.
Taking time to prepare avoids frustration later. A clean and organized workspace reduces the risk of cross-threading or water damage.
Use an adjustable wrench or basin wrench to loosen and disconnect the water supply lines from the old faucet. Have a towel or bucket ready to catch drips.
Loosen Mounting Nuts: Under the sink, remove the nuts holding the faucet body in place. These nuts may be tight due to mineral deposits, so apply penetrating oil if needed.
Lift Out the Old Faucet: Once loosened, pull the old faucet up and out from the top of the sink.
Clean the Mounting Holes: Wipe the surface and ensure there’s no corrosion or leftover plumber’s putty that might interfere with the new faucet seal.
Removing the old faucet carefully ensures that the sink surface remains undamaged and provides a stable foundation for the new installation.
Position the new faucet through the mounting hole(s) on the sink or countertop.
Apply a Gasket or Sealant: Many faucets include a rubber gasket or foam seal that fits between the faucet base and sink surface. If not, apply a thin bead of plumber’s putty to prevent leaks.
Secure from Below: From under the sink, install the washer and mounting nut(s). Tighten them evenly by hand first, then use a wrench for a firm hold—avoid overtightening, which may crack the sink or deform the base.
Align the Faucet Properly: Ensure the handle moves freely and the faucet spout faces straight forward. Minor misalignment can cause uneven water flow or stress on the hoses later.
If your faucet includes a pull-down sprayer, feed the hose through the spout before final tightening, ensuring the counterweight is attached below the sink to allow smooth retraction.
Connect the hot and cold water hoses from the faucet to the corresponding shut-off valves.
Identify Hot and Cold Lines: Typically, hot water connects to the left valve and cold water to the right.
Use Plumber’s Tape: Wrap Teflon tape around the male threads of the shut-off valve to ensure a watertight seal.
Tighten the Connections: Use a wrench to tighten but not overtighten the nuts. Hand-tight plus one-quarter turn is usually sufficient.
Check Hose Length: Ensure the hoses hang freely without sharp bends that could restrict flow.
For pull-out faucets, connect the spray hose to its quick-connect fitting and test that it clicks securely into place.
After all connections are complete:
Open the Shut-Off Valves: Slowly turn on both hot and cold valves under the sink.
Check for Leaks: Let the water run for one to two minutes. Inspect all connections under the sink and around the faucet base.
Flush the System: Remove the aerator from the faucet spout and let water run to flush out debris from installation.
Reattach the Aerator: Once clear, screw it back on and check for proper water flow and temperature mixing.
Running this test ensures your faucet works smoothly and confirms that seals and washers are functioning correctly.
Installing a faucet may seem simple, but attention to small details determines how long it will last without leaks or wobbling.
Excessive force on mounting nuts or water connections can damage threads or crack ceramic cartridges. Always tighten gradually and stop once firm resistance is felt. If leaks appear during testing, tighten slightly more.
Any dirt, sand, or old sealant trapped inside fittings can damage valve seats or block water flow. Always clean every component before assembly and flush the pipes before final connection.
Misalignment between faucet handles, spout, and sink holes can create tension on the hoses and cause premature wear. Make sure the faucet sits straight and stable before tightening.
High water pressure can damage the internal cartridge or sprayer hose. If you live in an area with strong supply pressure, consider installing a pressure-reducing valve on your main line to extend faucet life.
If your faucet base doesn’t have a gasket, use a small ring of plumber’s putty rather than silicone for easier future removal. Ensure all threaded connections are wrapped in Teflon tape for reliable sealing.
When installing a pull-out or pull-down faucet, attach the weight correctly to allow smooth retraction. Test several times before finalizing installation to ensure there’s no snagging under the sink.
| Precaution | Purpose | Possible Issue If Ignored |
|---|---|---|
| Avoid over-tightening | Prevents damage to fittings | Cracked parts or leaks |
| Clean components | Keeps flow smooth | Blocked valve or aerator |
| Align faucet correctly | Ensures even pressure | Hose wear or wobble |
| Use Teflon tape | Creates watertight seal | Slow dripping leaks |
| Test before finishing | Confirms full function | Rework after installation |
Installing a kitchen sink faucet requires patience, precision, and attention to sealing and alignment. A faucet is more than just a tap—it’s a functional centerpiece that must perform reliably under daily use.
By preparing the workspace, cleaning mounting holes, properly securing the base, connecting supply lines carefully, and testing for leaks, you ensure a long-lasting installation. Remember to use quality components like stainless steel hoses and Teflon tape to avoid corrosion or water damage over time.
When done correctly, a newly installed faucet not only operates smoothly but also enhances the efficiency and appearance of your kitchen, delivering both durability and style for years to come.
Previous: How To Clean A Kitchen Faucet Head
Next: What Is An Angle Valve
 Mobile Phone:
 Contact Now