

A bathtub faucet that continues dripping after the handle is closed usually has a worn or damaged internal sealing component. Depending on the valve design, the problem may involve a cartridge, washer, O-ring, ceramic disc, valve seat, or loose connection.
Before taking the faucet apart, identify where the water is appearing. A drip from the spout is different from water leaking around the handle or entering the wall behind the trim plate.
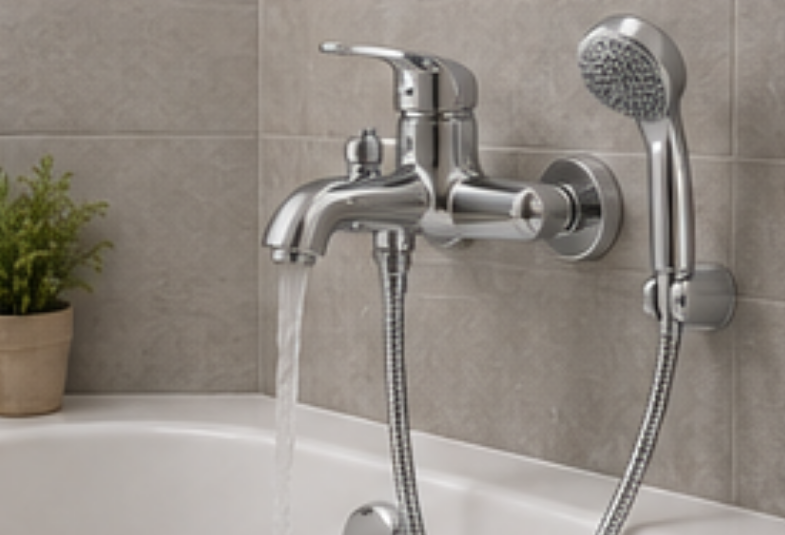
A steady drip from the bathtub spout usually means that the valve is no longer closing completely.
Common causes include:
A worn cartridge
A hardened rubber washer
A damaged O-ring
Mineral deposits inside the valve
A scratched ceramic sealing surface
A worn valve seat
Water collecting around the handle may indicate a damaged stem seal, loose retaining nut, or worn cartridge O-ring.
This leak may only appear while the faucet is running because the internal water pressure is higher.
Damp drywall, loose tiles, staining below the bathtub, or moisture behind the trim plate can indicate a concealed plumbing leak.
Stop using the faucet and shut off the water supply when water may be entering the wall cavity. Hidden leaks can damage framing, flooring, cabinets, and waterproofing.
Shut off the local bathroom supply valves when available. If the bathroom does not have independent valves, close the property’s main water supply.
Open the faucet briefly to release remaining pressure.
Cover the bathtub drain so screws, clips, and small seals cannot fall into the waste pipe.
Prepare:
Flat and Phillips screwdrivers
Hex keys
Adjustable wrench
Needle-nose pliers
Cartridge puller when required
Soft cloth
Replacement cartridge or seals
Plumbing-approved lubricant
Protect decorative surfaces with a cloth before using metal tools.
The handle may use a visible screw, a concealed set screw, or a decorative cap covering the fastener.
Remove each component carefully and place the parts in the order they were taken off.
Take a clear photograph before removing sleeves, clips, retaining nuts, or temperature-limit components.
This makes reassembly easier, especially when several small parts are involved.
Remove the retaining clip or nut according to the faucet design.
Pull the cartridge straight outward. Do not twist the concealed pipework or apply uncontrolled force if the part is stuck.
Inspect the component for:
Cracks
Flattened seals
Hardened rubber
Scratches
Mineral buildup
Broken plastic
Uneven wear
Use a replacement cartridge or washer made for the exact valve model.
A part that appears visually similar may have a different length, port arrangement, stem shape, or operating direction.
Remove loose mineral residue with a soft cloth.
Do not scrape the inside of the valve with a knife or screwdriver. Damage to the sealing area may prevent the new cartridge from closing correctly.
Apply a small amount of plumbing lubricant when recommended.
Do not use cooking oil, automotive grease, or unsuitable petroleum products because they may damage rubber and plastic components.
Reinstall the cartridge, retaining parts, trim plate, and handle.
Turn the water supply on slowly. Operate the hot and cold controls, then close the faucet and watch the spout for several minutes.
Check around the handle, trim plate, and wall opening for moisture.
Replacement may be more practical when:
The valve body is cracked
Internal threads are damaged
Replacement parts are unavailable
The finish is heavily corroded
The faucet has repeated leaks
The concealed connections are loose
Several components are worn
A Wall Mounted Bath Mixer Tap should provide reliable water control while allowing normal maintenance of cartridges, seals, handles, and outlets.
Our wall-mounted bath mixer range includes exposed structures using sus304 stainless steel or brass, depending on the model. Buyers can also discuss different finishes, logos, aerators, cartridges, and packaging requirements before production.
Developing bathtub faucets for hotels, apartments, bathroom distributors, or private-label collections?
Send us your installation dimensions, connection standard, body material, cartridge requirement, finish, outlet structure, packaging, and order quantity. We will prepare a suitable Wall Mounted Bath Mixer Tap proposal.
 Mobile Phone:
 Contact Now