

Removing a kitchen faucet is usually straightforward when the shutoff valves work and the mounting hardware is accessible.
The main difficulties often come from limited space beneath the sink, corroded nuts, rigid supply lines, and pull-down hoses routed through the faucet body.
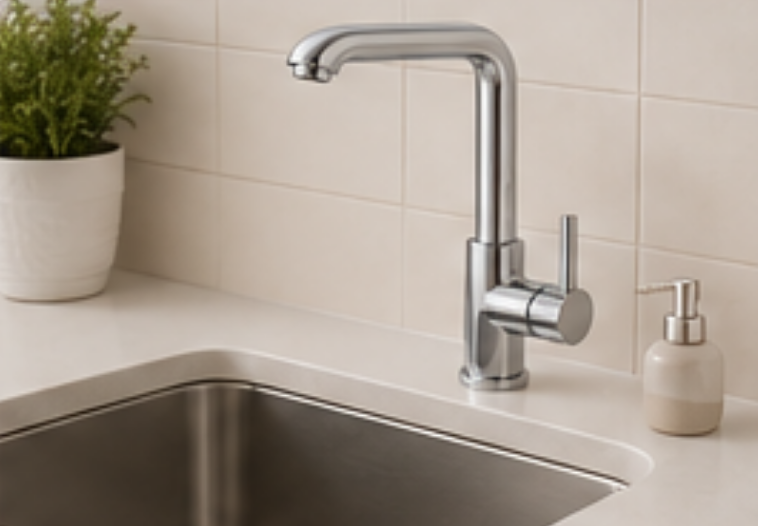
Before removing the existing faucet, confirm:
Number of sink holes
Hole diameter
Countertop thickness
Hot and cold connection size
Available space below the sink
Sprayer or soap-dispenser holes
Required mounting hardware
This avoids removing the old faucet before confirming that the replacement can be installed.
Remove cleaning products, bins, filters, and stored items from beneath the sink.
Place towels or a shallow tray below the connections because some water will remain inside the supply lines.
Use a work light so the mounting nuts and hose connections are clearly visible.
Turn the hot and cold shutoff valves clockwise until fully closed.
Open the faucet to release pressure and confirm that the water has stopped.
Do not continue disconnecting the supply line when water still flows.
Close the main water supply or arrange replacement of the faulty shutoff valve before removing the faucet.
Use one wrench to hold the shutoff valve steady and another to loosen the supply-line nut when necessary.
Avoid twisting the valve or pipe inside the wall.
Mark the hot and cold lines before removal, especially when several hoses or filtration connections are present.
This reduces the chance of reversing the connections during installation.
A pull-down faucet normally has a flexible hose connected beneath the sink.
Remove the counterweight first, then disconnect the quick-connect fitting or threaded coupling according to its design.
Keep the hose supported until the faucet body is loose.
Pulling it forcefully can damage the sink surface, clip, or internal connection.
Disconnect any separate side sprayer, soap dispenser, water filter line, or electronic control cable.
For touchless faucets, remove or disconnect the battery pack and control unit according to the product instructions.
kitchen faucets may use:
A large mounting nut
A horseshoe-shaped bracket
Threaded studs and nuts
A top-mount installation system
Several small retaining screws
A basin wrench can help reach hardware behind a deep sink.
Apply a suitable penetrating product and allow time for it to work.
Do not force the nut so aggressively that the sink, countertop, supply pipe, or faucet shank becomes damaged.
Once the mounting hardware is removed, lift the faucet body upward.
Guide the hoses through the mounting hole without scraping the sink or countertop.
A second person can help manage long hoses and heavy faucet bodies.
Remove old sealant, mineral deposits, grease, and dirt with a product suitable for the sink or countertop material.
Inspect the mounting hole for:
Cracks
Corrosion
Loose countertop material
Water damage
Uneven surfaces
Old gaskets
Allow the area to dry before installing the replacement.
A Pull Down kitchen faucet combines the faucet body, spray hose, spray head, return weight, supply lines, and mounting system.
Our pull-down faucet range can be developed with stainless steel or brass bodies, single-hole installation, different surface finishes, customized logos, selectable aerators and cartridges, and different spout-rotation angles.
Our product categories include single-handle, pull-down, pull-out, waterfall, and drinking-water kitchen faucets, together with kitchen sinks, shower faucets, basin faucets, and bathroom accessories.
Buyers can discuss material, finish, spray functions, cartridge, aerator, hose length, logo, and packaging before sample confirmation.
Send us your sink-hole dimensions, connection standard, faucet height, hose reach, spray modes, material, finish, logo, packaging, and annual purchasing volume. We will prepare a Pull Down Kitchen Faucet solution for your market.
Previous: How To Remove Faucet Screen?
 Mobile Phone:
 Contact Now