

The “screen” at the end of a faucet is usually part of the aerator.
An aerator mixes air with the water stream, shapes the flow, and may help control the flow rate. Over time, sand, rust particles, and mineral deposits can block the small passages and reduce water pressure.
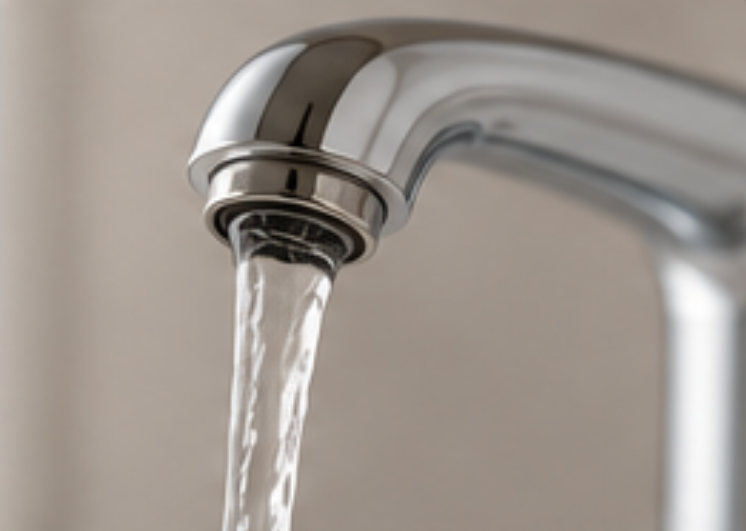
Aerator blockage commonly causes:
Weak flow from one faucet
Uneven or sideways spray
Water splashing from the outlet
Visible mineral deposits
Debris inside the screen
When every faucet in the building has low pressure, the cause may be the main supply, pressure regulator, filter, or plumbing system rather than one aerator.
| Aerator Type | Appearance | Removal Method |
|---|---|---|
| External threaded | Visible housing at the spout tip | Unscrew by hand or padded tool |
| Internal threaded | Sits partly inside the spout | Unscrew the outer ring |
| Recessed or cache | Hidden inside the spout | Use the matching aerator key |
| Spray-head aerator | Built into a pull-down head | Remove according to spray-head design |
Do not force the outlet before identifying the type.
Close the drain so small components cannot be lost.
Wrap the aerator housing with a soft cloth before using pliers or an adjustable wrench.
Chrome, brushed nickel, matte black, gunmetal, gold-tone, and painted finishes can be scratched by bare metal tools.
Try turning the aerator counterclockwise by hand when viewed from below the spout.
When it does not move, use a rubber grip or padded pliers.
Keep the tool aligned with the aerator so the housing is not crushed.
A recessed aerator normally requires a plastic or metal key that matches its internal pattern.
Insert the key fully, apply steady pressure, and turn counterclockwise.
Using the wrong key can strip the aerator or damage the outlet.
Place the parts on a towel in the order they are removed.
A typical assembly may include:
Outer housing
Rubber washer
Flow regulator
Mixing insert
Screen
Internal support pieces
Take a photograph before separating the parts.
Rinse loose particles under clean water.
Soak removable components in a cleaner approved for the material. Diluted white vinegar is often used for mineral residue, but it should not remain on decorative faucet finishes.
Clean the screen openings with a soft toothbrush.
Do not enlarge holes with a needle or metal pick, as this may alter the water pattern or flow rate.
Replace components that are:
Cracked
Torn
Deformed
Heavily corroded
Permanently blocked
Missing internal pieces
A damaged washer can create leakage around the aerator after reinstallation.
Briefly turn on the water with the aerator removed.
This can flush loose debris from the spout. Use a cloth or container to control splashing.
Do not run the water at full pressure when it may spray across the room.
Place the internal parts in the original order and thread the aerator into the spout by hand.
Tighten it only enough to seal. Excessive force can damage threads or flatten the washer.
Turn on the water and check the stream and connection.
A Stainless Steel kitchen faucet may be configured with different aerators according to the required flow rate, outlet pattern, water-saving target, and market standard.
Buyers can also specify faucet dimensions, spout structure, cartridge type, finish, logo, hose arrangement, and packaging for OEM and ODM orders.
Before ordering, buyers should specify:
Faucet connection market
Required flow rate
Aerator thread
Stream or spray pattern
Anti-limescale requirement
Noise expectation
Replacement-key requirement
Packaging of spare parts
Send us your faucet dimensions, spout type, aerator specification, flow requirement, cartridge, finish, logo, packaging, and quantity. We will prepare a Stainless Steel kitchen faucet proposal for sample evaluation.
Previous: What Temperature To Drip Faucets?
 Mobile Phone:
 Contact Now